Toasted Marshmallow K-Bars
Jan 16, 2026
15 MINUTES
2-3 PEOPLE
EASY
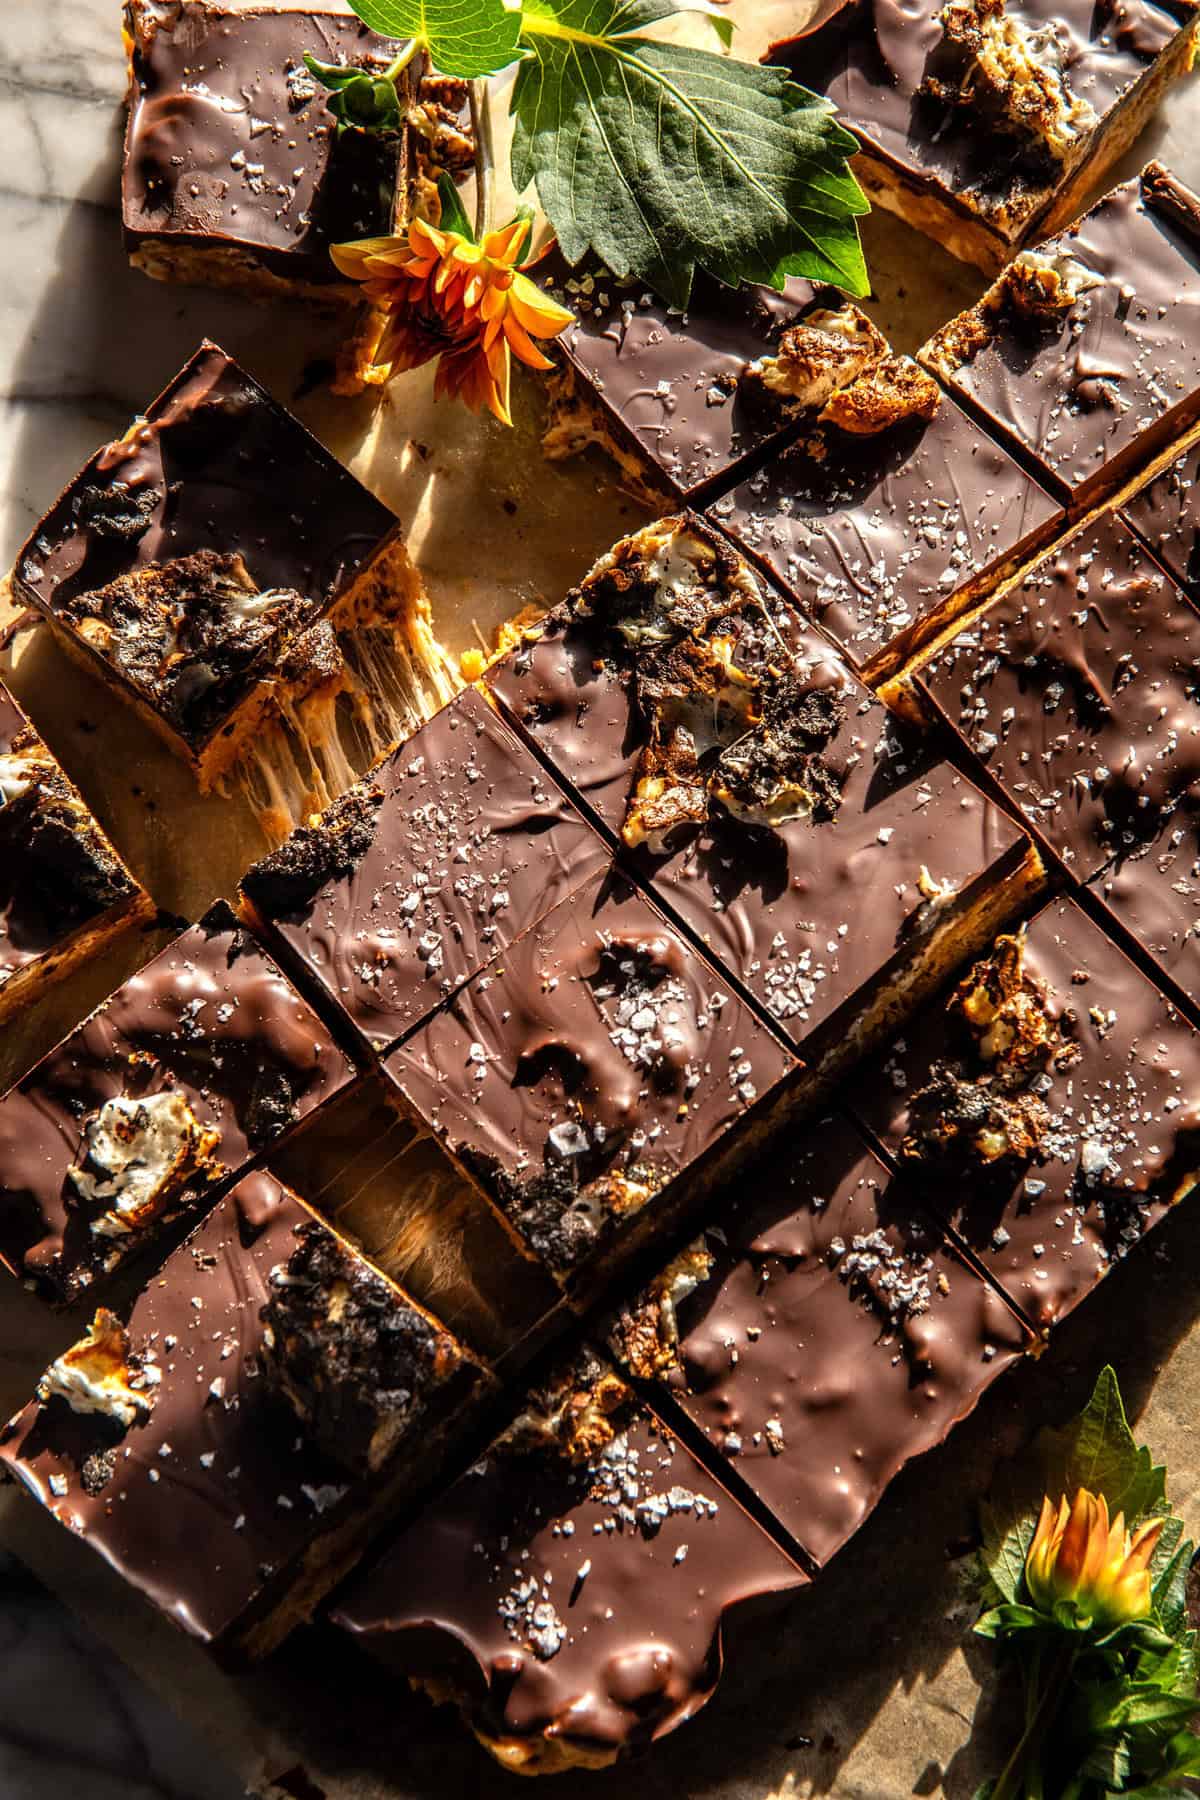
These toasted marshmallow K-bars are inspired by classic cereal treats, upgraded with rich chocolate, buttery layers, and a gooey toasted marshmallow finish. They are easy to make, require no baking, and deliver a perfect balance of crispy, chewy, and indulgent.
Why you’ll love this recipe
No-bake and beginner-friendly
Crispy, chewy, and chocolatey
Perfect for make-ahead desserts
Crowd-pleasing and kid-approved
Minimal tools and simple steps
Ingredients notes
Butter: Use unsalted butter for better control over flavor and saltiness.
Marshmallows: Mini marshmallows melt more evenly and create a smoother base.
Cereal: Crispy rice cereal provides structure and crunch.
Chocolate: Milk or dark chocolate both work. Choose based on how sweet you want the bars.
Vanilla extract: Adds warmth and depth to the marshmallow base.
Salt: A small amount balances the sweetness and enhances flavor.How to make vegan chocolate pot de crème
How to make toasted marshmallow K-bars
Ingredients | Quantity |
|---|---|
Unsalted butter | 170 g |
Mini marshmallows | 300 g |
Vanilla extract | 1 tsp |
Crispy rice cereal | 180 g |
Chocolate (chopped or chips) | 200 g |
Salt | ¼ tsp |
Line a square baking pan with parchment paper, leaving some overhang on the sides for easy removal later.
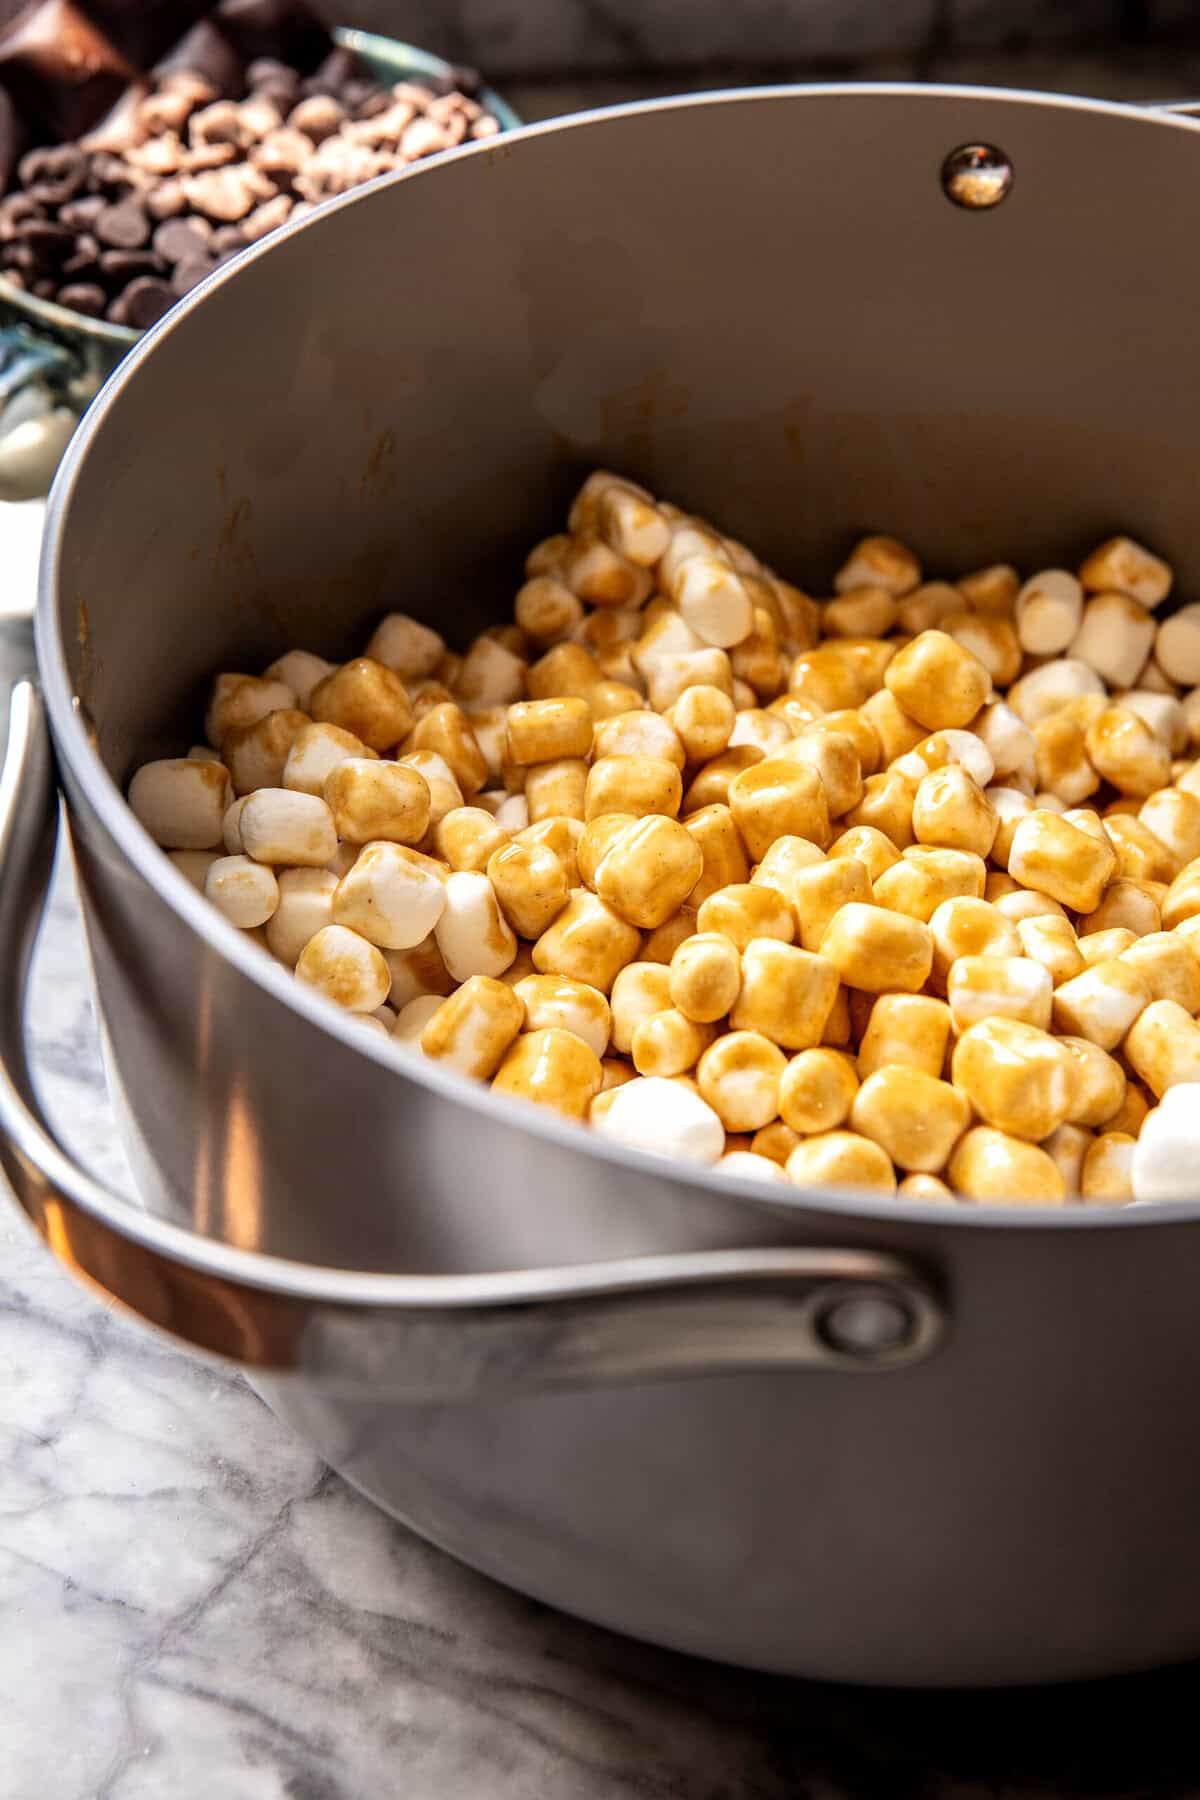
In a large saucepan, melt the butter over medium-low heat. Add the marshmallows and stir continuously until fully melted and smooth.
Remove the pan from heat and stir in the vanilla extract and salt.
Add the crispy rice cereal and gently fold until evenly coated with the marshmallow mixture.
Transfer the mixture to the prepared pan and press it down lightly into an even layer. Do not compact it too firmly, as this can make the bars dense.
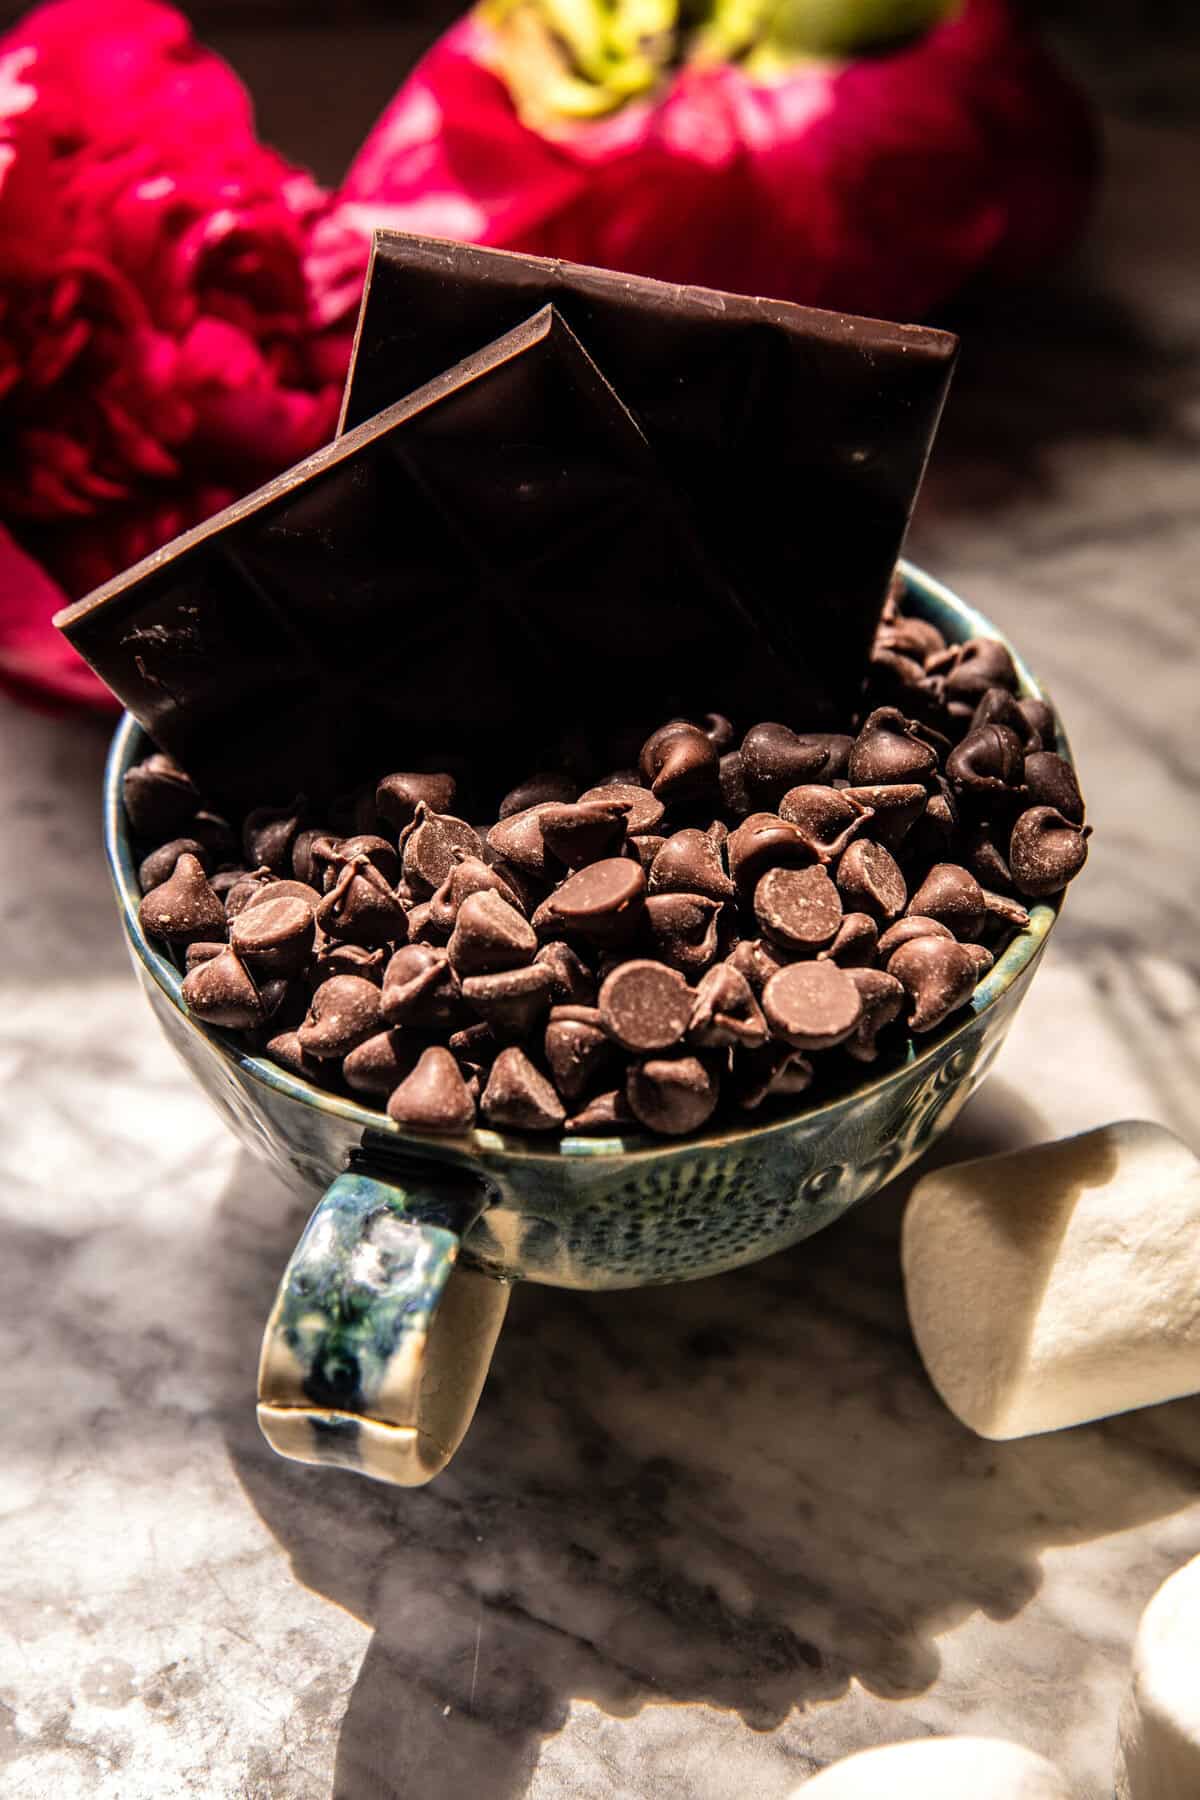
Sprinkle the chopped chocolate evenly over the top while the base is still warm, allowing it to soften slightly.
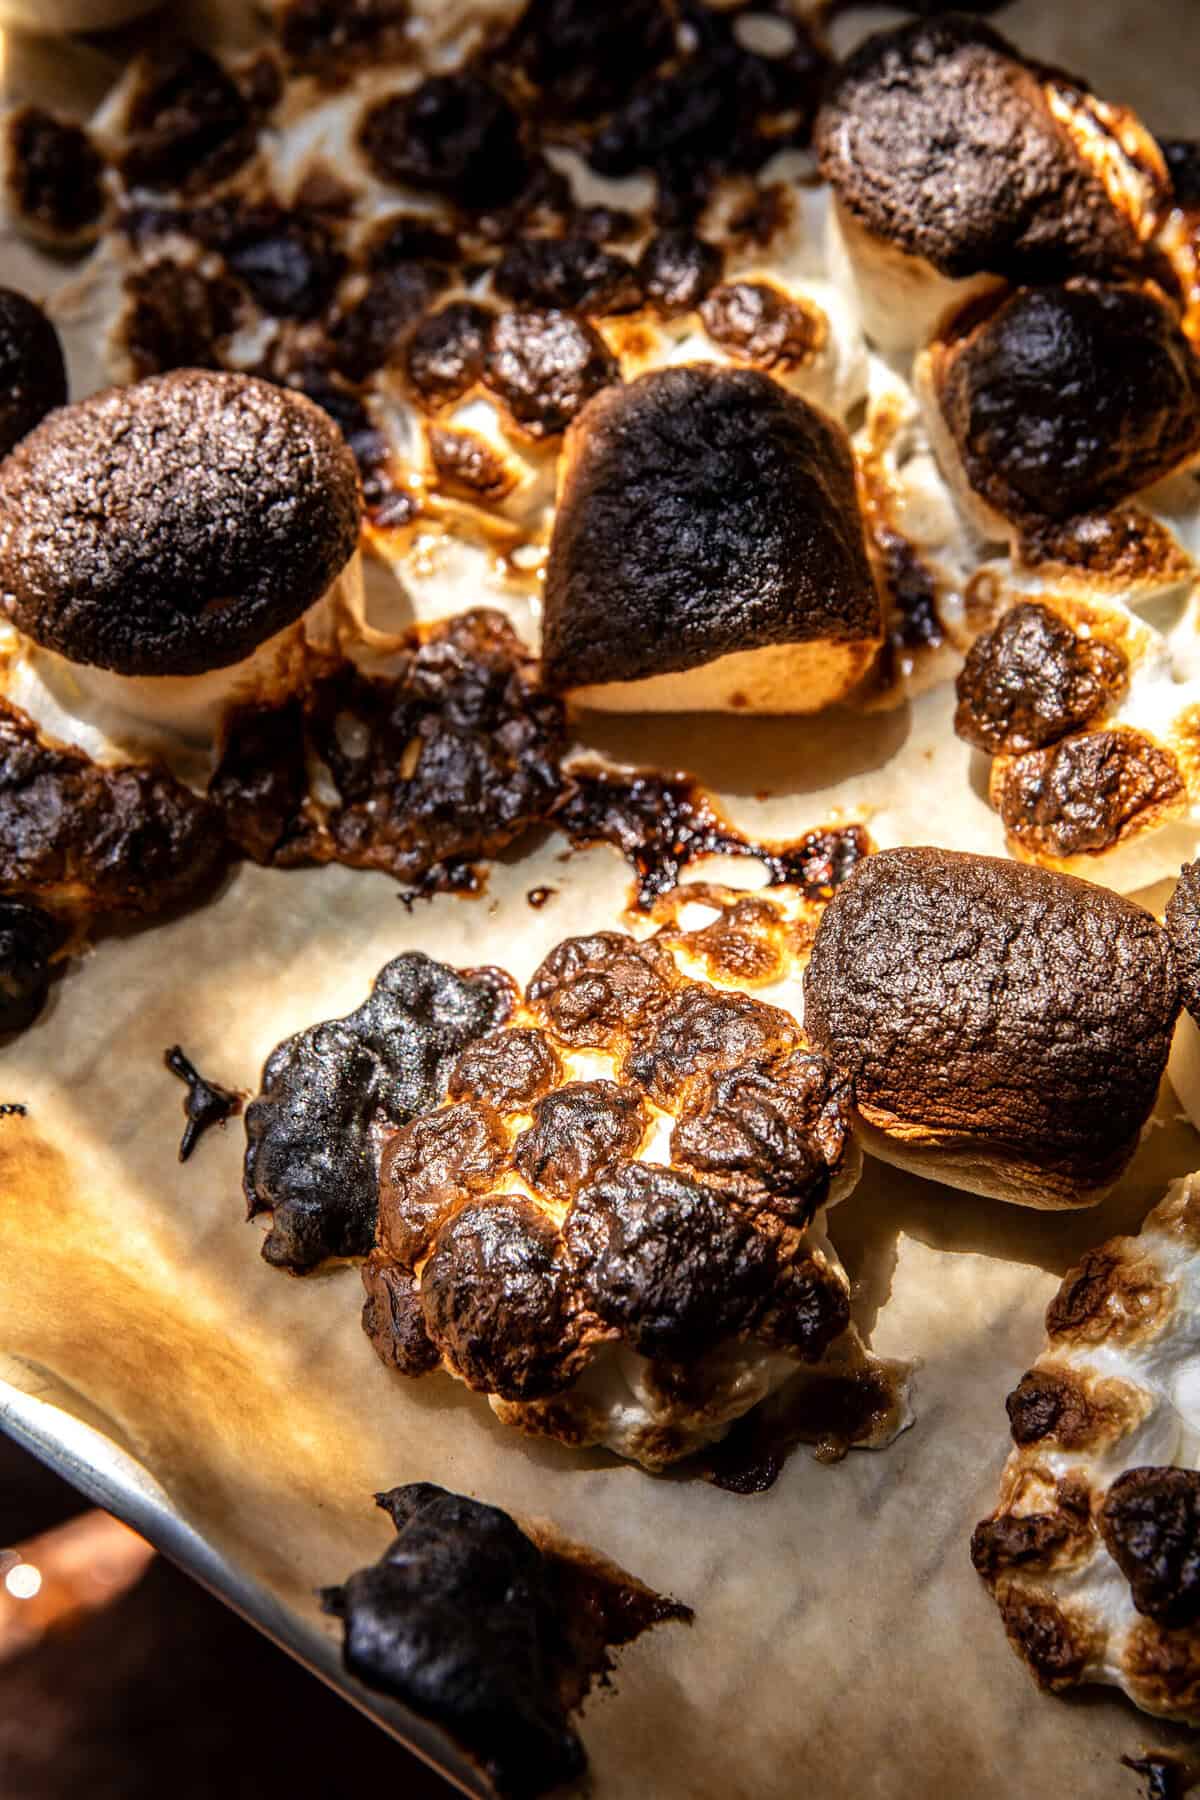
Using a kitchen torch or the oven broiler, carefully toast the top layer until the marshmallows are lightly golden and caramelized. Watch closely to prevent burning.
Let the bars cool completely at room temperature until set.
Once firm, lift out of the pan using the parchment paper and slice into bars.
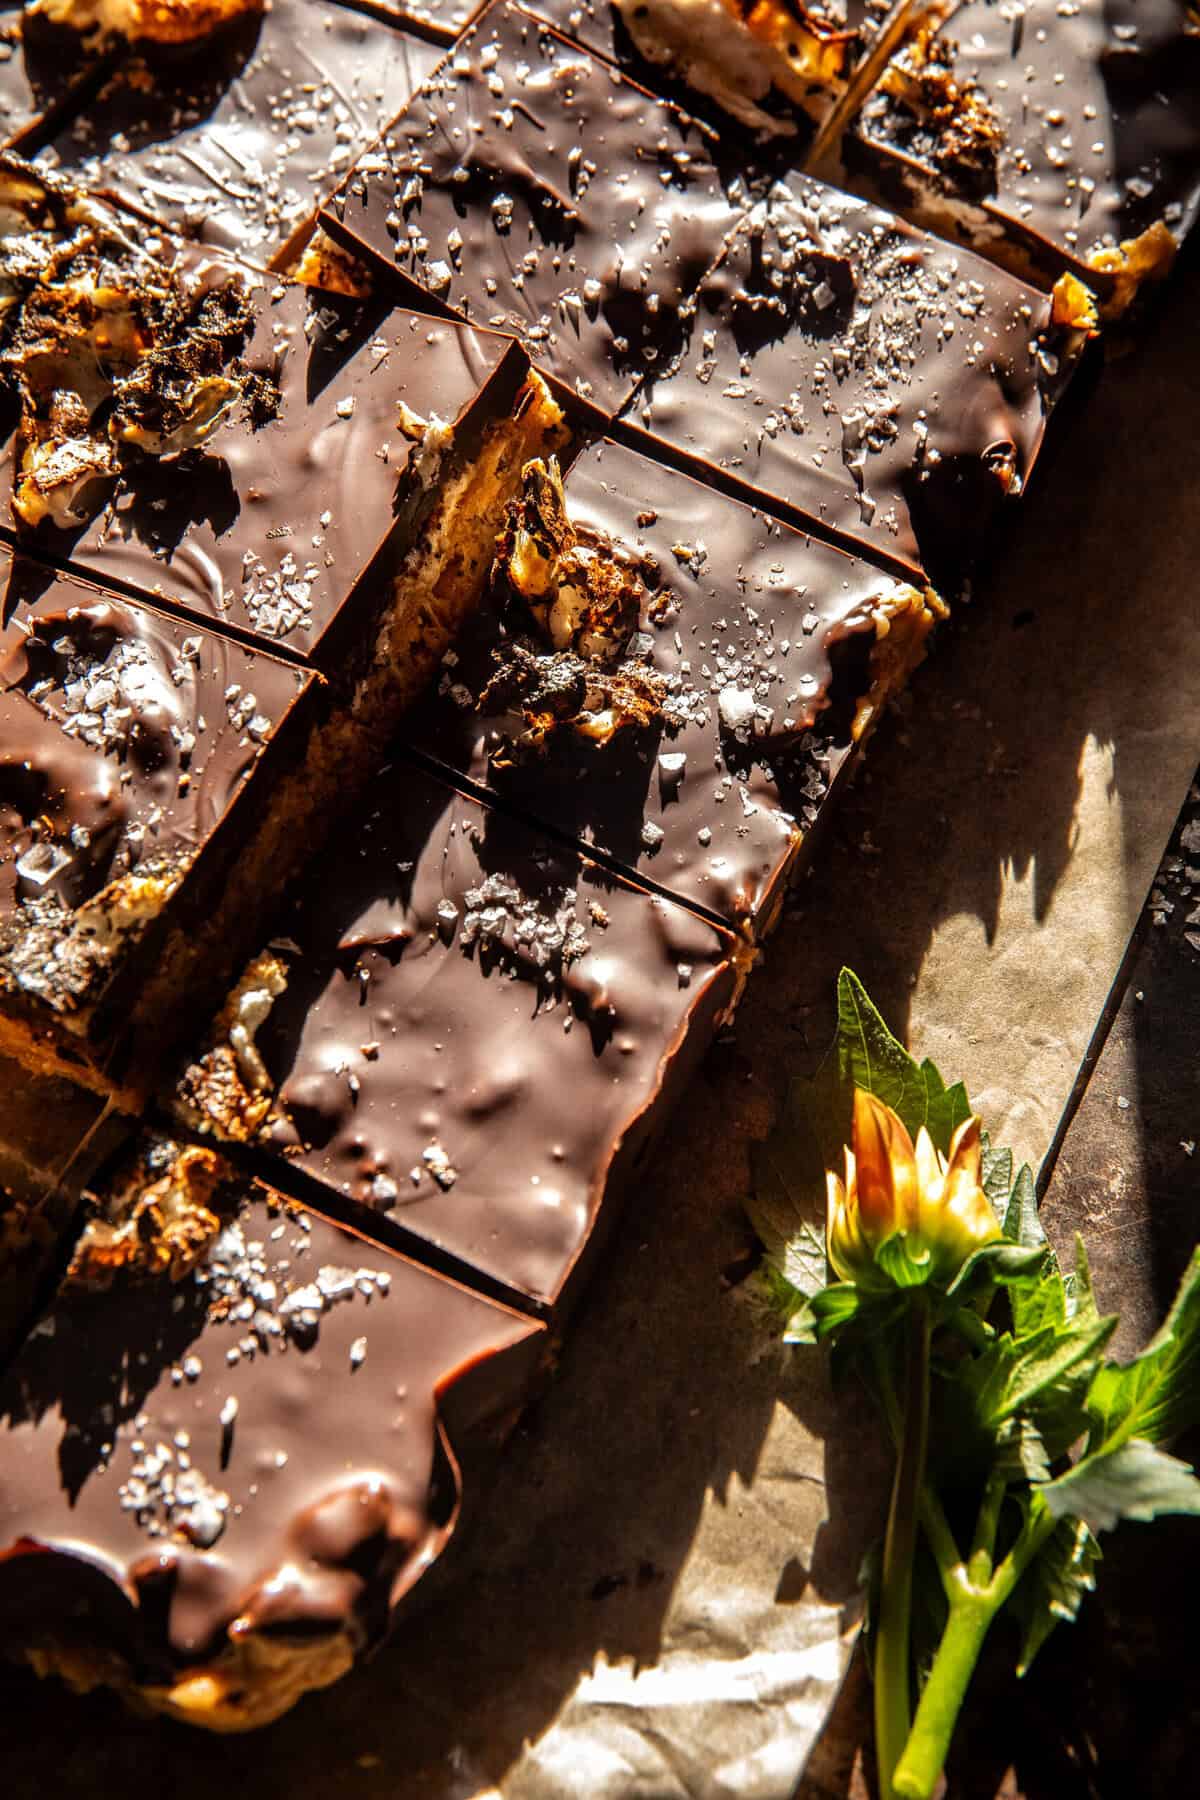
Image credit: Demo recipe images are credited to Half Baked Harvest and are used solely for preview and demonstration purposes.

Recommended


© 2026 SAVORY. All rights reserved.